
While many may believe that learning how to decorate a Christmas tree is a tricky task, it’s not that difficult after all. You can make your holiday tree a showstopper regardless of how much money you’ve got to spend. The key is ensuring that you decorate the tree in the right way, and you should use the right color schemes to help. This is a detailed stepwise guide that will teach you how to decorate a Christmas tree like a pro—from arranging branches, lights, ornaments, and toppers. You will also find out about general mistakes to avoid while decorating a Christmas tree, as well as affordable tips to create a beautiful tree for your space.
This guide will cover step-by-step the process I follow for decorating my Christmas tree and what I learned along the way.
What You Need Before You Start :How to Decorate a Christmas Tree
Gather these items first so you don’t stop halfway:
- Warm white string lights (test them before you begin)
- Ornaments in two or three coordinating colors
- Ribbon or garland
- A tree topper
- A tree skirt or basket
- An extension cord and a small step stool
- Optional: floral wire to hold ribbon and heavy ornaments
Step 1: Set Up and Fluff the Tree
Place the tree on a stable spot, away from heaters, radiators, and fireplaces. A distance of about 3 feet (1 meter) from any heat source is a commonly recommended safety guide.
If your tree is artificial, take a few minutes to fluff it. Starting from the bottom, spread every branch tip outward and upward. This simple step makes the tree look fuller and hides gaps before a single decoration goes on. For a real tree, let it settle for a few hours and fill the stand with water right away.
Stage Two: Begin With Warm White Lights
My favourite place to start is with the lights, and I encourage you to do the same. It is far easier to lay them before the ornaments get in the way.
The technique I prefer is to use both long and short strings of lights, placing shorter ones deep inside and longer ones on the outer branches. This method gives the tree a gentle luminescence instead of a harsh look in some places with too much light.
How to do it:
- Plug the lights in first so you can see the effect as you go.
- Start at the bottom and work upward in a gentle zigzag.
- Weave the first layer deep inside the branches.
- Add a second layer closer to the branch tips.
How many lights? A common rule of thumb is about 100 lights per foot of tree height. Use more for a richer glow.
I prefer warm white fairy lights because they feel cozy and welcoming. Cool white gives a crisper, icy look, so choose based on the mood you want.
Step 3: Pick Out Two or Three Complementary Colors
After choosing the lights, I settle on the colors. From my experience, the trees that look the best use two or three complementary colors. If you use too many colors, the tree can end up looking cluttered.
Here are some color pairings I recommend:
- -Red and gold: a traditional Christmas look and warm feeling
- -White and silver: a more elegant winter feel
- – Green, cream, and natural wood: rustic and cozy
- – Black, white, and gold: modern and chic
If you’re stuck, look at your room. Choose one of the colors in your pillows, curtains, or carpet, and the tree will seem to fit right in!e.
Step 4: Use Ribbon or Garland
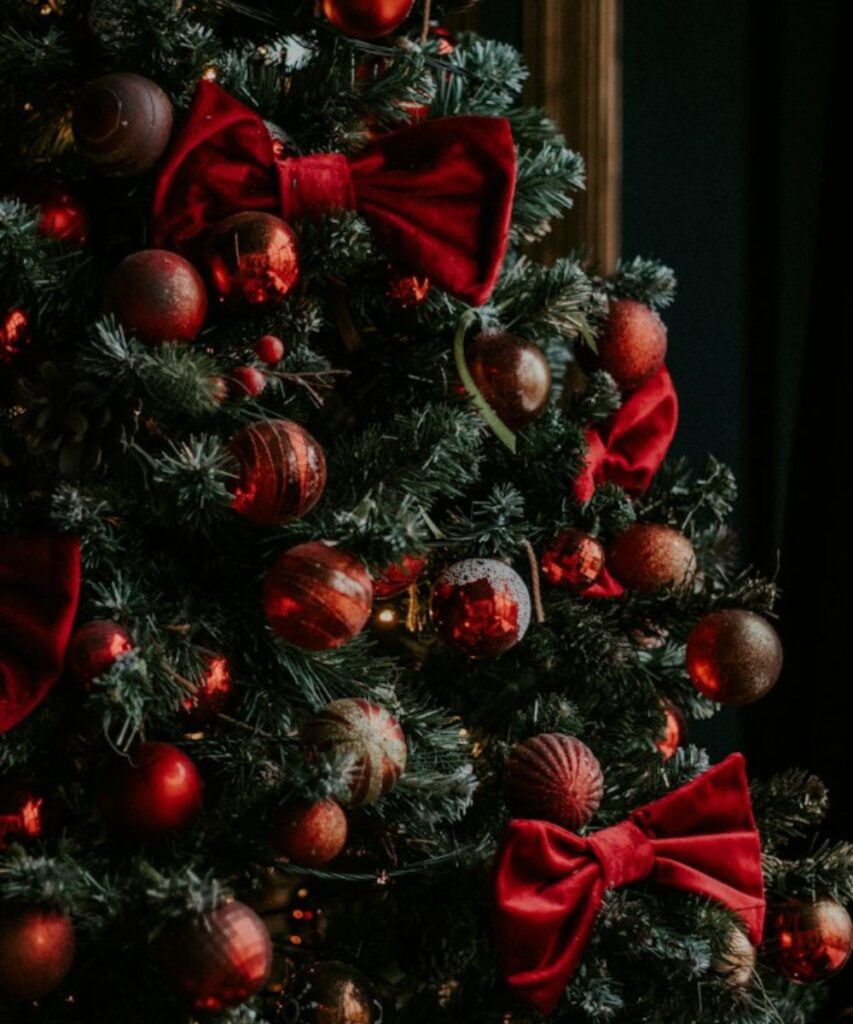
Using ribbon creates charm and gives the Christmas tree a polished look. I like using simple ribbons since it boosts the beauty and elegance of the Christmas tree on a budget.
To drape ribbon vertically, you should allow it to flow downwards from the top to the bottom in waves.
To wrap it horizontally means to twist it around the Christmas tree in smooth rings.
To tuck loops means to insert small loops of the ribbon into the tree branches for fullness.
The appropriate ribbon to use should be the wire-edge type since it retains its shape. Remember not to pull on it too tightly.axed curves look natural.
Step 5: Decorating Ornaments as per Size
The essence of a tree is reflected here, where more significance is placed on hanging ornaments. My idea is to hang large ornaments in the deeper parts of the tree and small ornaments on the open branches. This way, I can produce a depth in the tree without cluttering it.
Here is the procedure:
1. First, large ornaments must be hanged so as to be away from the trunk of the tree.
2. Then, medium ornaments must be carefully placed in the tree’s middle.
3. Lastly, small ornaments should be placed in small tips of the branches.
Some additional decoration tips are
Using uneven numbers for decoration. Grouping by the number of three appears more natural than using two.
Using different textures. Using all kinds of textures, such as glossy, matte, and glittery finishes, will enrich the design.
Evenly distributing colors across the tree. It is essential to walk around the tree and observe if there are empty spaces with no colors placed.
Keeping special decorations at eye level. All important ornaments should be placed lower.
Step 6: Add Personal Touches (You Don’t Need Expensive Ornaments)
I used to think a beautiful tree needed expensive decorations. It doesn’t. I’ve found that simple ribbons, handmade decorations and a few meaningful ornaments can make a tree feel far more personal than a tree covered in costly baubles.
Ideas to try:
- Paper stars or yarn ornaments made by hand
- Dried orange slices or pine cones
- A few ornaments with family memories
- Name or initial tags for each family member
These pieces cost little, and they’re the ones people notice and talk about.
Step 7: Put the Topper on the Tree and Cover the Base
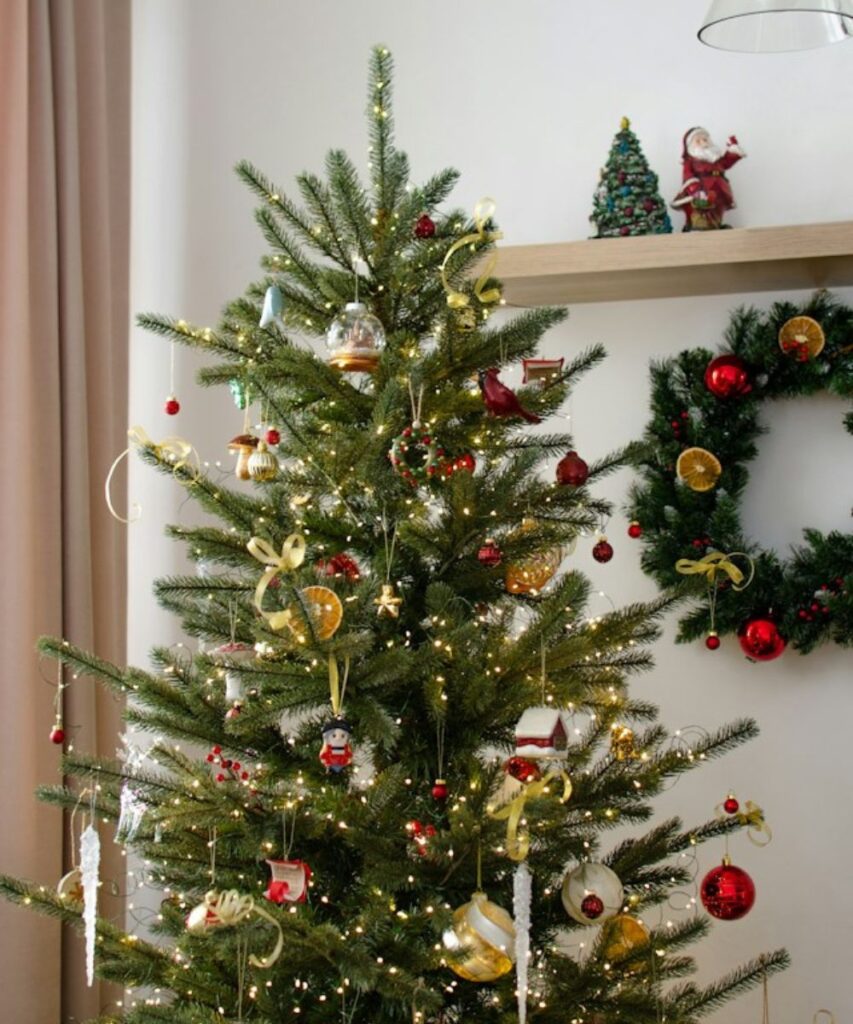
Select your preferred topper, which should fit with the theme of your design. A star is a more traditional option, while a bow can be associated with softer designs. Make sure the size of the topper matches the tree and is properly secured so that it doesn’t lean.
Use a nice tree skirt or a nicely woven basket to hide the stand of the tree. Then, add some presents wrapped in paper that matches your scheme.
Step 8: Take a Step Back and View it from Other Perspectives
My most important decorating advice is the action that the vast majority of people forget to do. At the end of decorating, take a few steps back and view the whole tree from different angles. This means moving from the door to the opposite side of the room. With this step done, the following issues become obvious:
- Open spaces that need an ornament
- Poor distribution of decorations when there is one color in the same area
- Shady spots that lack brightness
Generally, this is the stage when I change my work quite frequently. Just by moving three or four ornaments and placing one more string of lights, I can dramatically change the outcome of my work.t.
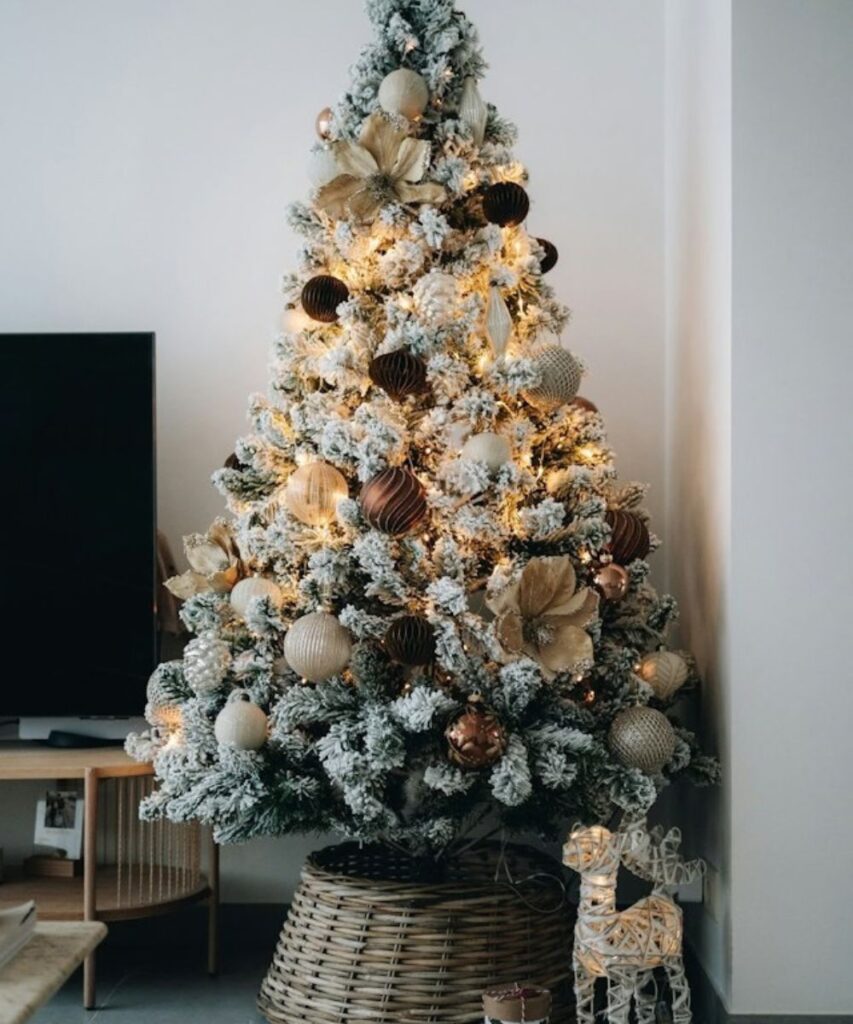
Common Mistakes When Decorating a Christmas Tree
Many of these are mistakes I made myself at the start:
- Thinking more decorations means a better tree. Balance matters more than quantity.
- Adding ornaments before lights. It makes the lights hard to spread evenly.
- Putting all lights on the outside. The tree looks flat and uneven.
- Using too many colors. Two or three is enough.
- Hanging everything on the tips. Place some ornaments deeper for depth.
- Skipping the final step back. You’ll miss gaps you could easily fix.
Ideas for Decorating a Compact Christmas Tree
A compact tree can be designed fabulously if you make some wise decisions. Choose decorations that are in a smaller size, use only a couple of colors, and select a simple lightweight tree top. Raise your tree on a pedestal or a box so that it looks taller and put presents around it to achieve an illusion of a larger tree.
Real Tree vs. Artificial Tree
Real tree: Water it daily and keep it away from heat. Choose lighter ornaments for softer branches and hang them near the sturdier parts.
Artificial tree: Fluff every branch carefully. Many artificial trees hold heavier ornaments well, and some come with built-in lights, which saves time.
Frequently Asked Questions
I have recently opened my box of decorations, and I’m feeling confused. What’s the starting point?
Start with the shape. The first thing the tree must do is find a proper place to stand. After that make sure all the tips are pointed upwards or outwards. Most of the problems associated with the look of a thin tree occur because the people skip this process. You can light the tree once it looks fine on its own. After that you can apply the ribbon, and only after that the decoration.
Why does my tree look so thin even if I make additions to it?
Adding more decorations on the tree is hardly able to help. A tree looks fully decorated when it is able to show various layers. The fewer lights are placed at a distance from the trunk, and the others should shine at the level of the tips of the branches. In the end I put on as big decorations as possible in the inner part of the tree, and smaller decorations should complete the look of the outer layer of the tree.
Which colors are best suitable for trees?
Two or three colors can be selected and combined into the tree’s appearance. For example, red can be combined with gold for a fantastic traditional appearance, and white can be matched with silver in order to create a crisp look that is appropriate for winter. The color of light can also add to trees’ appearance, which is why warm white light suits gold and red very well. In case you doubt which color to opt for, pick up a color of your cushion covers or curtains in order to make the tree look more integrated into the interior.
Can people decorate a beautiful tree without spending a lot of money?
Of course, my favorite decorations are the simplest ones. For instance, satin ribbons, paper stars, and threads of yarn, with several ornaments, can turn into much warmer decorations than any expensive glass. Moreover, one should hang decorations at eye level since those will be noticed first by the visitors of the house.
What order works best for ribbon, lights and baubles?
I follow this order: lights, then ribbon, then baubles. Once the lights are in, the ribbon can flow through the branches, and the baubles then sit on top of it and around it. If you reverse this, the ribbon often ends up covering your best ornaments or looks like it was added at the last minute. A wire-edged ribbon is easiest because it holds its curves.
Final Thoughts
At last, we have come to the end of how to adorn a Christmas tree through effortless steps. You should take the correct shape and proper shape of the tree using branches and add lights from inside out. The ornaments and colours are also important. They should give you a sense that you have your tree in your house for your guests.